

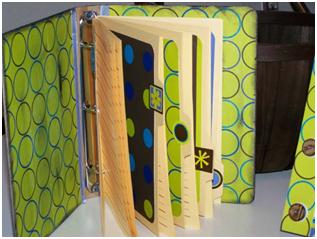
Materials
- 2 sheets of patterned paper- I used the large & small spotted sheets.
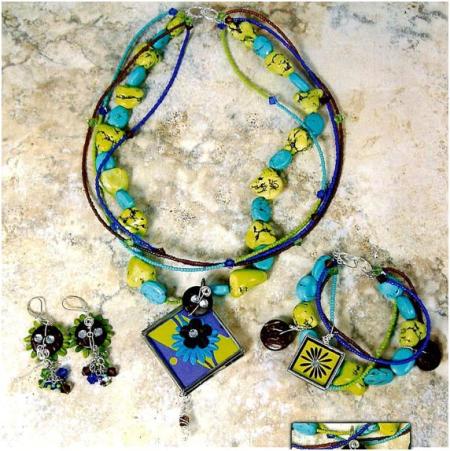
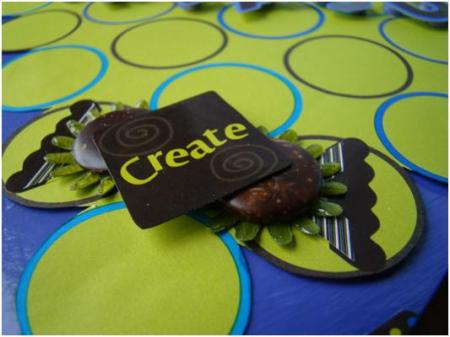
- Selection of letter stickers & corners, paper flowers, gems.
- 1 piece of Ribbon
- 2 pieces of chipboard or mount board measuring 3 ½ inches square.
- Bone Folder
- Double sided tape
- Glue stick/dots.
To Make:
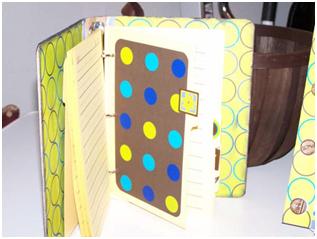
- Take the piece of paper you wish to use for the inside pages (I used the small spots)
- Lay face down & fold in half (use a bone folder on all folds to ensure good sharp creases). Next fold the open edges up to meet the centre fold. You should now have 3 folds, making a W shape.
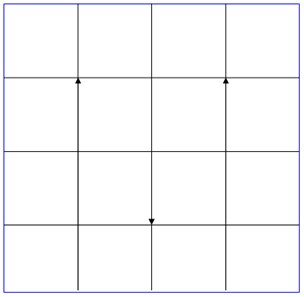
- Unfold the paper & repeat the folds in step 1. at right angles to the first set so you end up with 16 squares. (See diagram).
- Cut along fold lines so you end up with an M shape. All the squares will remain joined together. Cut up the first 3 squares between row 1& 2. Cut down 3 squares between row 2& 3. Cut up 3 squares between row 3 & 4. (See diagram).
- Now fold up the pages to make a concertina shape. Glue the backs of the pages together along the edges. You could leave the top edges open to form pockets if you wished.
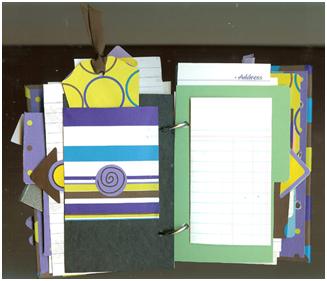
- Cut 2 pieces of the other paper (I used the large spots) so it is ½ an inch bigger all round than the two pieces of chipboard. Apply a thin layer of glue to the board & position it centrally on the paper. Mitre the corners. Apply glue to the flaps & stick down.
- Put the covers face down, about ½ an inch apart, and attach double sided tape across the middle. Stick the length of ribbon to the tape. Now use more tape to attach the pages centrally to the covers.
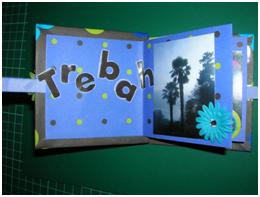
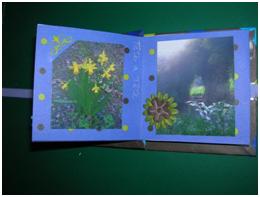
- Decorate as required. I stuck in photos, added flowers, gems etc. and a title to the first & last pages. I used the large bloom folded into 4 to attach to the front cover.
Folding Diagram:
Arrows show cut lines.


 Posted by Creative Options


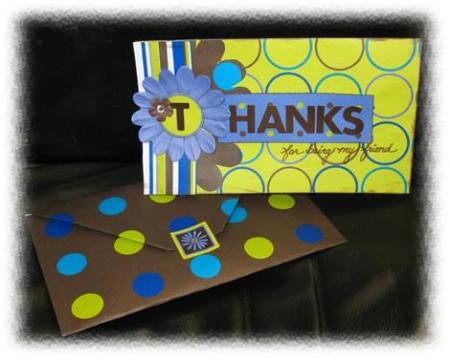
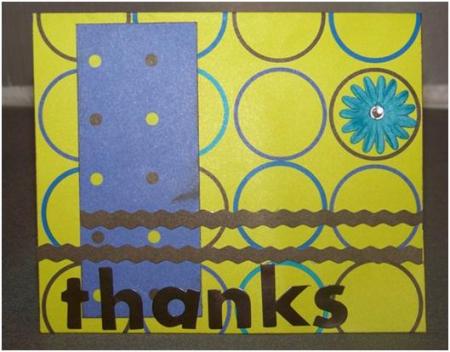


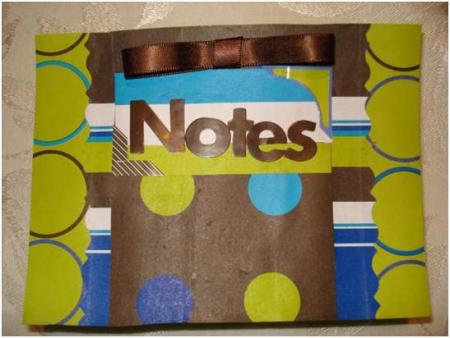


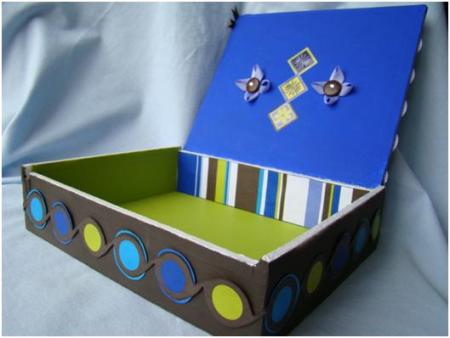


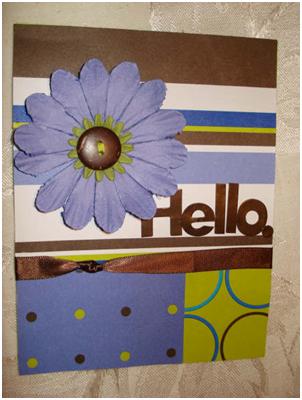

 I used the dark brown paper with the large polka-dots for the base paper.